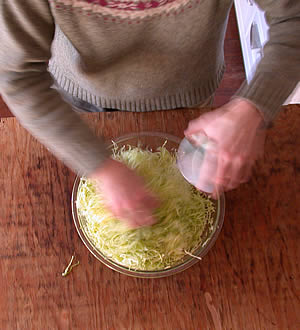
 Salt the cabbage. Use a good sea salt**, one without anti-caking agents in it. Here I used Himalayan salt, but that's only because that's what the German woman who first taught me how to make real sauerkraut uses. I actually used too much when I made this batch! I used close to a tablespoon (I'm kind of a salt fiend) and I learned my lesson. Next time I'll use more like a teaspoonful for 1 head of cabbage. It's not an exact science; Sandor Katz (the fermentation guru) says he never measures, he just shakes some on. More in summer, less in winter, he says. Don't dump it in all at once though – kind of lift the cabbage and sprinkle the salt in and around so that it's somewhat evenly distributed. **Dec 2010 update: I learned recently that sea salt with all the minerals in it can lend an off-flavor, so save your lovely grey mineral salt for other culinary uses! Get a low mineral sea salt for fermenting.
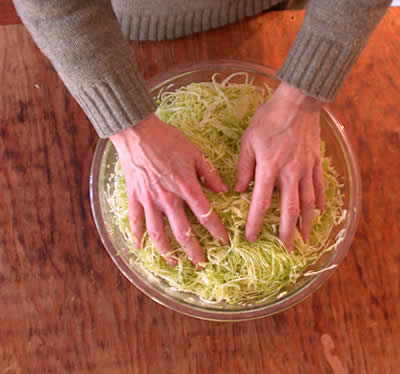
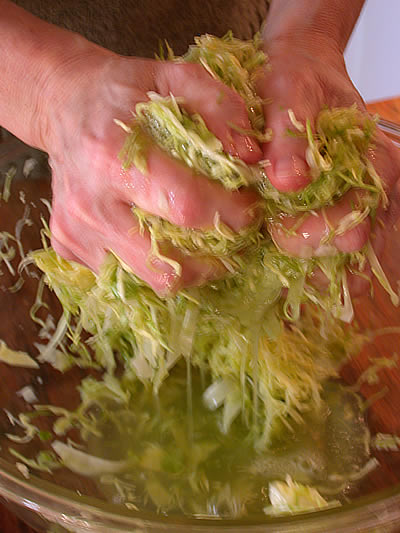
Okay, now we're ready to start massaging!
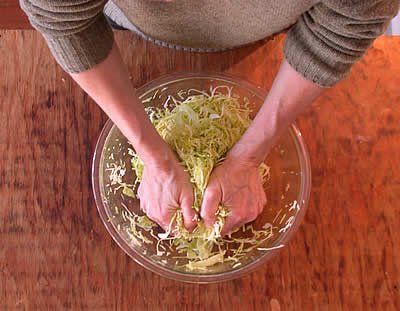
Roll up your sleeves and start squinching and squooshing it. This part is totally fun!!
As you squeeze and squish it, the cabbage will start to give off its own juice. Keep massaging! You want that juice. As Sandor describes it, "the salt pulls the water out of the cabbage (through osmosis), and this creates the brine in which the cabbage can ferment and sour without rotting. The salt also has the effect of keeping the cabbage crunchy, by inhibiting organisms and enzymes that soften it."
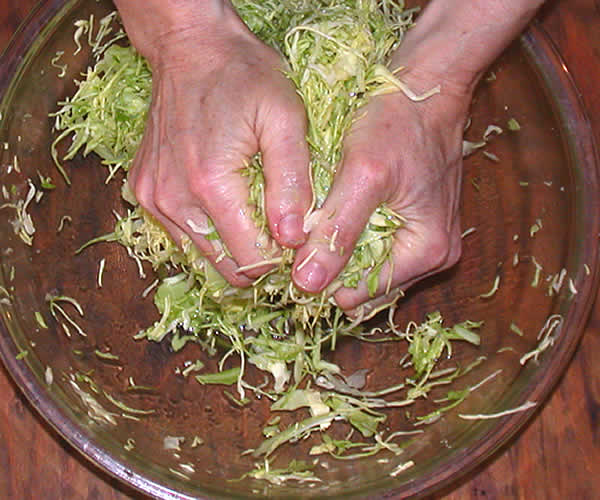
 Unfortunately this picture is a bit out of focus, but you can see how really juicy you can get it. When it's this juicy, you can call your massaging good and move on to the next step...
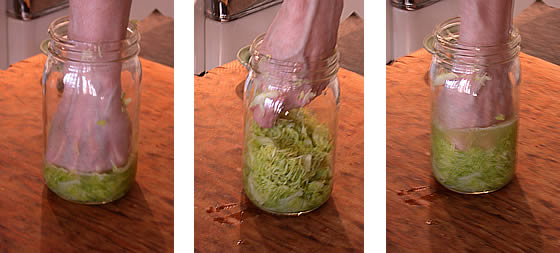
...packing the cabbage into the jar! As you can see, you just put some in, then with your fist you pack it down. (If you have some sort of flat-ended something you could use that, but I like the hands-on method.) Add more cabbage and continue to pack until the jar is full, including juice, to about an inch below the rim (more or less).
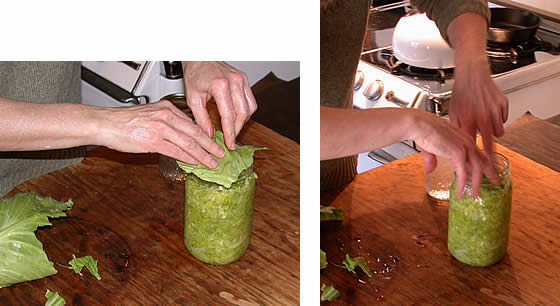
This is a clever next step I learned from my German friend: tear a piece of cabbage leaf big enough to cover the cabbage inside the jar, then poke it down in there. Press down on it so that the juice rises up above the level of the cabbage. The leaf helps keep the shredded cabbage submerged (less floaties) while it ferments.
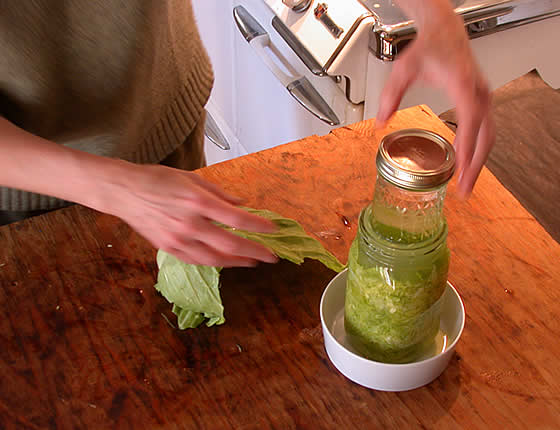
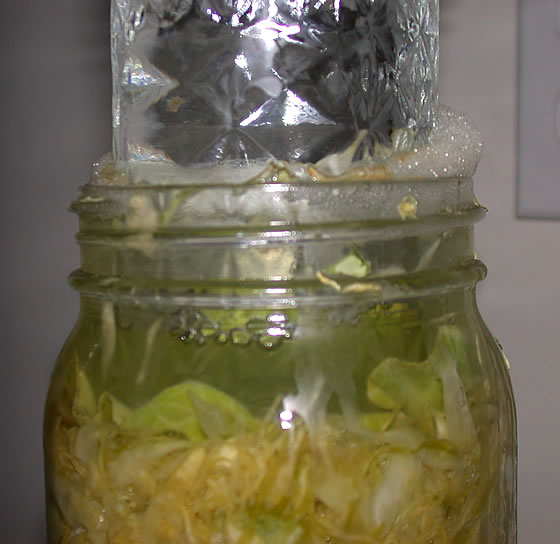
Now you see what the smaller jar is for! You fill it with water and use it as a weight to keep the cabbage submerged below its juice. Press down on it so the juice is a good inch or so above the packed cabbage. Note the bowl I put under the jar: this is because as the kraut ferments, it expands, and unless you've carefully calculated how much it is going to expand and left enough headroom, it's gonna overflow at some point!
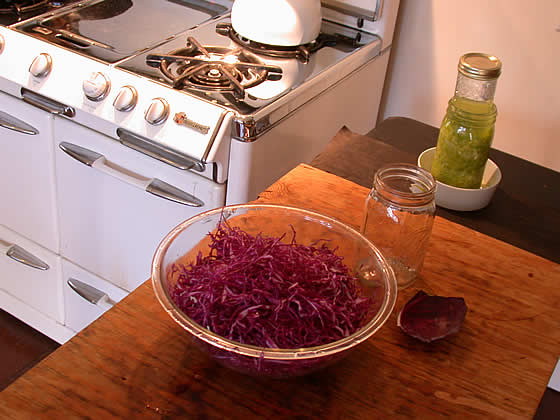
Here I am ready to start a batch with red cabbage. Same process. The only difference is that I added some caraway seed when I added the salt (less salt! I did this batch right), and THAT was a good idea - the red kraut came out really yummy!! I recommend the caraway, but it is of course totally fine to make it just with the salt.
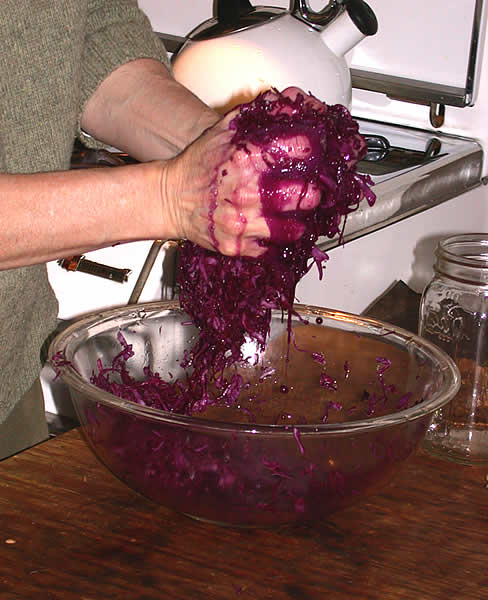
I love this shot! The red cabbage is gratuitously messy and particularly satisfying!! The juice will stain your hands for a bit, but it's not permanent.
Okay, here are the two heads of cabbage, shortly after I was done packing the jars. Note I have a little headroom in the red cabbage jar (but that went away and overflowed anyway as it fermented). The red cabbage is too dark to see, but with the green, you can see the distance between the level of the cabbage and the rim of the jar.
Leave the jars out at room temperature for 3 to 5 days to ferment.
Note that this is wintertime, and so it's not all that warm -- at least not in my kitchen! But if you do this in the summertime, Sandor recommends you make some effort to keep flies away. (eggs, maggots...yick!!) Draping everything with a flour-sack-type dish towel or cheesecloth would be fine, or if you have one of those picnic-type net/screen coverings that'd work great too.
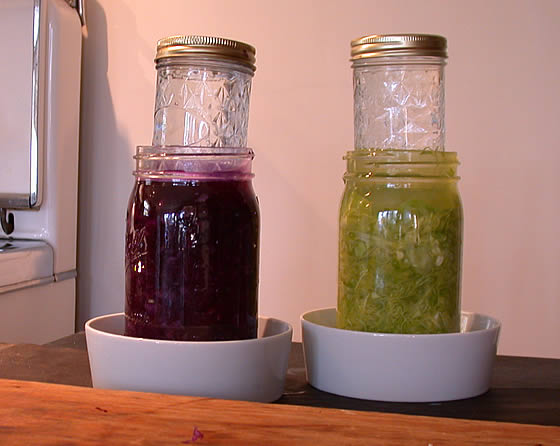
Here they are after a couple days. Note how the green cabbage is starting to turn a more familiar 'sauerkraut' color. The red stays vibrantly red, no color change there! Note also the overflow, and the foam around the top from the bubbling, effervescing cabbage! You can just use a small spoon or your finger and scoop the foam away when you're done fermenting and ready to store the sauerkraut.
After about 4 days, I took the weighting jars out (got rid of the foam) and tasted a little bit of each. The red cabbage was a pleasant, mild sour with the yummy caraway flavor dimension. The green was still salty, so I left it out a couple more days to ferment longer (just put the weighting jar back in and push it down so the liquid rises again if you want to continue fermenting). Alas, as you know, mine was just too darned salty. It's possible I could have left it out another week to see if it would sour more... but I didn't. Next time. No, next time I'll be more mindful of how much salt I'm adding!
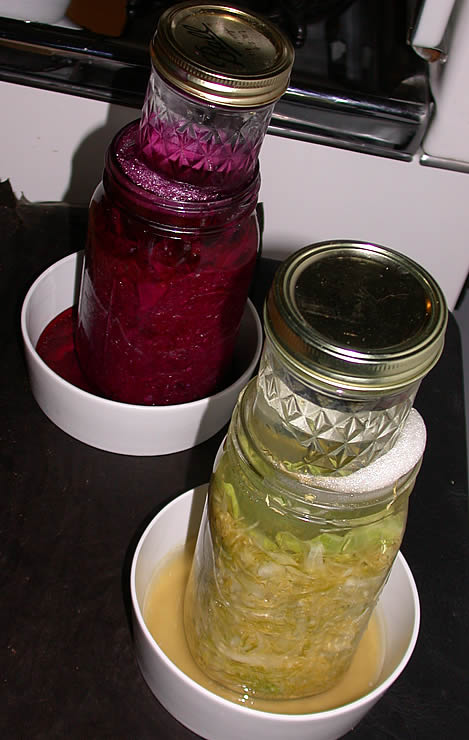
This is a nice closeup: you can see the bubbles in the jar and in the cabbage. It's really cool, actually! After a day or two you can watch it and actually see the little carbon dioxide bubbles working their way up and out the top.
So that's it! When the cabbage is fermented to your liking, take out the weighting jar, scoop away any remaining foam (it won't hurt anything, it just looks a little yukky), put a lid on the jar and stick it in the fridge. If you're a little nervous about 'how long' to ferment it your first time, just do it for 4 days. But I wouldn't bother to do it for any less than 3 days.
When it's cool, the process is slower; when it's warm, it's faster. Pretty straightforward. Anyway, have fun with this! I hope to hear that some of you were inspired to make your own sauerkraut after reading this. Let me know how it goes!
Oh, one more thing: if you want to read more about fermenting and Sandor Katz, the fermentation guru, you can go to his website at www.wildfermentation.com -- he's got lots of good information!